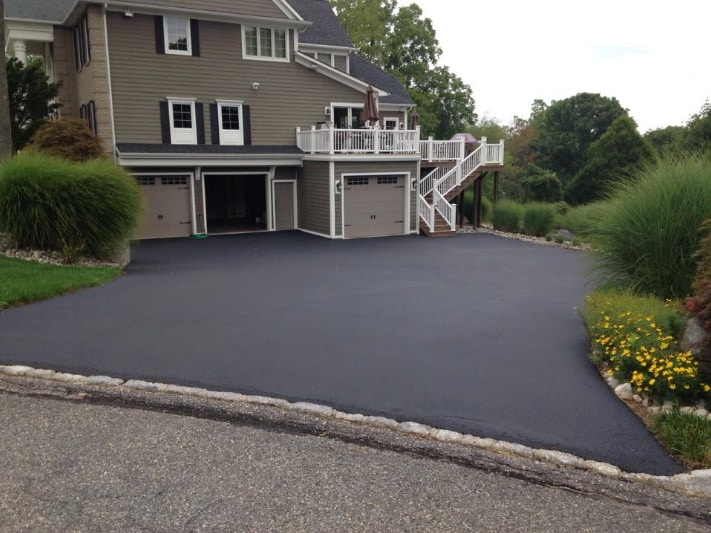
Asphalt is a superb product for the driveway of your home. Essentially it lasts for many years and is mostly maintenance-free. But we do not live in an ideal world and even the highest quality asphalt suffers under attack from the sun, wind, rain and freezing weather.
Most people don’t realize how easy it is to do minor fixes to your driveway and reseal it to refresh the surface and keep water out. This is an easy weekend task.
As you can see, you already possess all the tools you’ll need in your garage. You now need your sealing and fixing supplies. You can find these items online or find them at your nearest Home Depot or Lowes. You will need:
- Asphalt Driveway Sealer (usually is available in five-gallon pails that will cover approximately 500 sq ft). Determine the total square footage of the driveway and purchase enough to cover. If it has been many years since your driveway has been sealed, get a little extra because the older, drier asphalt will take in more than normal.
- Asphalt Driveway Crack and Hole Filler (typically comes in three-pound containers). Get the amount you need depending on the number of cracks and holes you have to repair.
- Sand to fill deep holes or cracks if you have them.
Here’s how to get the task done. It’s not hard; it doesn’t take hours and hours, and by going step by step you will be finished in no time with asphalting.
- Clean off all the dirt, grass or weeds which are on the driveway. If you have lots of grass or weeds growing within the cracks you may want to spray these with a weed and grass killer one or two weeks ahead of time which can make it easier to get them cleaned out.
Make use of a trowel or putty knife to dig out as much of the dirt and debris as you possibly can from any cracks or holes. Make use of your lawn edger or a shovel or spade to go down the edges of the driveway and cut away any grass or dirt.
Make sure you have clean edges along the entire length and that all dirt and debris is removed from the cracks and holes. Then use your broom to sweep the driveway as clean as you possibly can.
- Wash the driveway off completely. If you have use of a pressure washer this is an ideal method of cleaning the surface. Use it to clean the surface completely and to blow out any dirt you can from the cracks and holes.
If you use a garden hose, attach a nozzle to the end to give you the highest pressure possible. By doing a good job of cleaning now, you could save yourself a few years before you have to reseal again since you are doing an excellent job now.
- Let the driveway dry completely and check for contaminants. As it is drying watch for spots or areas that shine or appear dull from oil or other contaminants that have spilled on the driveway. Get a bucket with water and mix with a cleaner such as 409.
Wash these spots off by scrubbing with your broom or a brush. You probably won’t manage to get rid of the foreign material completely, but the cleaner will help make a better surface for the sealing compound to stick to. Rinse these areas off completely after you finish cleaning them.
- Fill any cracks or holes with Asphalt Filler. When the holes or cracks are deep, prep them by using sand to fill them nearly to the top. Then use your hose to wet these down completely to let them settle leaving them approx 1/2″ deep. You may want to do this 2 or 3 times, waiting an hour or two in between each soaking. Allow the driveway to dry completely before using the crack filler.
Apply the filler according to the directions on the container, but it is important to make sure you get it deep into any cracks or holes and be sure you smooth the top to get a nice finished look. Wait for the filler to dry and reapply another coating if cracks reappear.
- Apply the driveway sealer. Now that you’ve got all of the tricky preparatory work completed, this will likely seem like the easy part. The perfect situation would be to pick a warm cloudy day. This will allow the sealer to flow smoothly without drying too fast.
Pour a moderate amount of sealer onto the driveway and spread it out evenly with your broom or foam mop. When you have a workable area done, pour out more and keep going.
You should observe the directions on the container for the product you are using, but once you get started you will get a feel for how much sealer you need to get a nice even coat.
(If it has been many years since your driveway has been sealed you may want to apply two coats.) Rope off the driveway to ensure nobody walks or drives onto it until it is completely dry.


Comments